The Secret to Irresistible Crunch: Unlocking Perfect Microwave Peanut Brittle
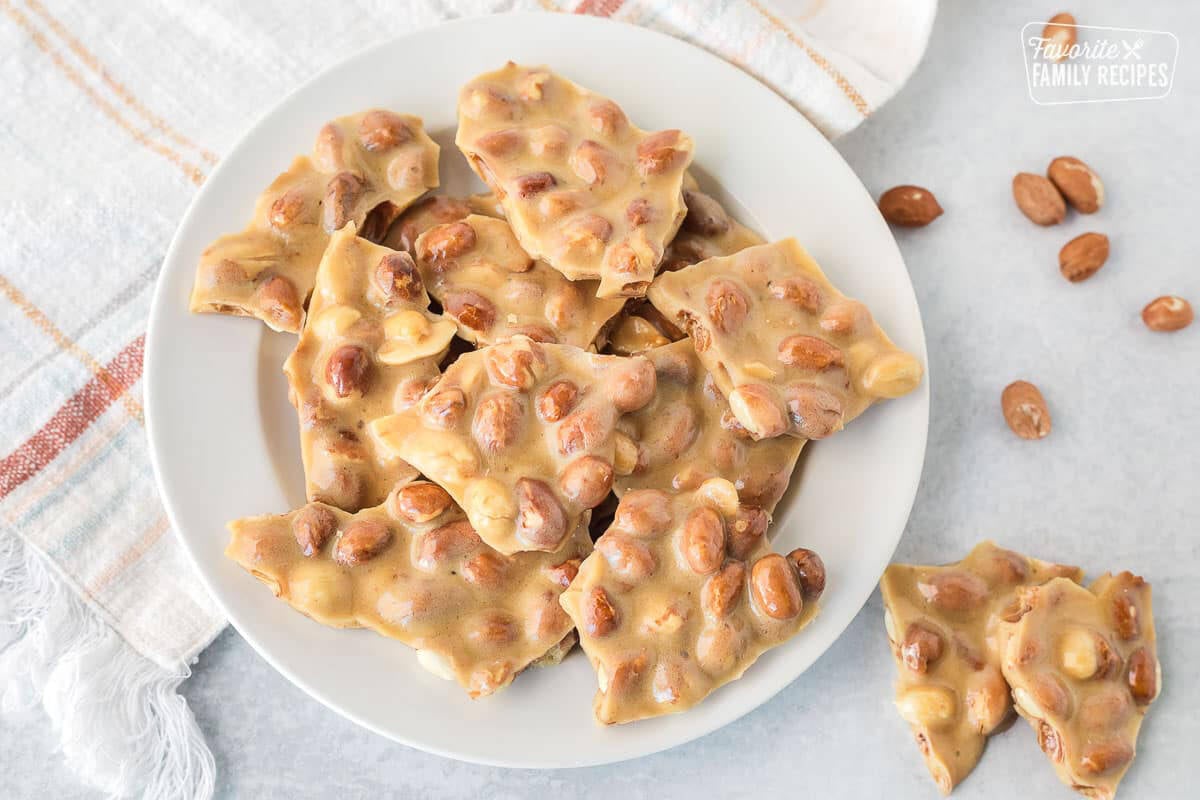
The holidays, family gatherings, or simply a craving for a classic sweet treat often bring to mind the irresistible snap of homemade peanut brittle. For generations, this beloved candy has been a staple, but its traditional preparation often conjures images of bubbling sugar on a stovetop, demanding constant attention and a certain level of culinary finesse. What if we told you there’s a game-changing method that delivers that same authentic, delicious crunch in a fraction of the time, with far less fuss? Enter
microwave peanut brittle – a revelation that has converted even the most skeptical candy makers.
Forget the old school recipes that require an army of helpers and an eagle eye. The microwave version is so incredibly easy and foolproof, you’ll wonder why you ever bothered with the conventional way. It's perfectly delicious, consistently crunchy, and surprisingly quick, making it an ideal choice for busy home cooks who refuse to compromise on homemade quality. This article will guide you through the pro tips to master this modern marvel, ensuring every batch of your microwave peanut brittle achieves that coveted perfect crunch.
The Microwave Revolution: Brittle Made Easy and Delicious
For years, the idea of making candy in the microwave was met with raised eyebrows and doubt. Traditionalists, steeped in the methods passed down through generations, often questioned if a microwave could truly replicate the delicate art of sugar cookery. However, countless home cooks, initially hesitant, have been utterly won over by the sheer simplicity and consistent results of
microwave peanut brittle. It's a method that shatters misconceptions, proving that convenience doesn't have to sacrifice quality.
One of the most compelling aspects of the microwave approach is the dramatic reduction in active cooking time. What once took careful stirring and constant monitoring over a hot stove can now be achieved with quick bursts in the microwave, freeing up your time for other tasks or simply to enjoy the process more. Don’t tell grandma, but the flavor profile remains identical – rich, buttery, and packed with roasted peanut goodness. You’ll find that nobody, not even the most discerning palate, will guess your perfectly crunchy brittle came together in mere minutes. This revolutionary technique makes homemade candy accessible to everyone, transforming what was once a daunting task into a delightful culinary adventure. For a deeper dive into making this treat quickly and easily, check out our guide on
Easy Microwave Peanut Brittle: Homemade Perfection in Minutes.
Essential Tools & Pre-Batch Preparation for Success
While the microwave simplifies the process significantly, success hinges on proper preparation and the right tools. Think of it as setting the stage for a flawless performance. These fundamental steps will safeguard against mishaps and pave the way for perfectly crunchy
microwave peanut brittle every time.
The Unsung Heroes: Thermometers and Bowls
The most crucial piece of equipment, beyond your microwave, is a reliable thermometer. While you might be tempted to "wing it," especially if you consider yourself a seasoned baker, a thermometer is your guarantee for consistent results. You don't necessarily need a bulky candy thermometer; a high-quality
instant-read thermometer that registers temperatures up to 350°F (175°C) works beautifully and is a versatile tool every kitchen should have. Why is it so important? Because achieving the "hard crack stage" (between 300-310°F or 149-154°C) is the secret to that glorious, non-sticky crunch. Cooking below this range will result in a chewy, caramel-like texture, while going too high can lead to burnt sugar.
Equally important is your choice of cooking vessel. Always use a large, deep, microwave-safe bowl. Glass or ceramic bowls are excellent choices. Ensure it's significantly larger than you think you'll need, as the sugar mixture will bubble up considerably during cooking.
The Power of "Mise en Place" and Safety First
Candy making, even in the microwave, involves working with molten sugar, which can reach extremely high temperatures. This is where the French culinary principle of "mise en place" – having everything in its place – becomes indispensable. Before you even touch the microwave button:
- Measure All Ingredients: Have your sugar, corn syrup, peanuts, butter, baking soda, and vanilla (or other flavorings) measured out and ready. Once the sugar mixture reaches temperature, you'll need to work quickly.
- Prepare Your Surface: Lightly grease a large baking sheet or line it with a silicone baking mat. This is where your hot brittle will be poured.
- Have Tools Ready: Keep your instant-read thermometer within arm's reach, along with a heat-resistant spatula or wooden spoon for stirring.
- Consider Extra Hands: While often a one-person job, if you’re new to candy making or feeling apprehensive, an extra set of hands can be invaluable for pouring or stirring.
- Prioritize Safety: Always use oven mitts when handling the hot bowl from the microwave and when pouring the molten sugar mixture. Exercise extreme caution; sugar burns are serious.
Mastering the Microwave: Timing, Temperature, and Troubleshooting
The microwave might seem like a simple appliance, but its nuances are key to mastering perfectly crunchy
microwave peanut brittle. Understanding how different factors influence your batch will empower you to create perfection every time.
Navigating Microwave Wattage and the Hard Crack Stage
Not all microwaves are created equal. The wattage of your appliance will directly impact the cooking time. A higher wattage microwave (like a 1650-watt model) will cook faster than a lower wattage one. This is precisely why relying on a thermometer is paramount. Don't solely depend on recommended cooking times in a recipe; use them as a guide, but always confirm the temperature with your thermometer.
The ultimate goal is to reach the "hard crack stage," which registers between 300°F and 310°F (149°C and 154°C). This is the point where the sugar mixture, when dropped into cold water, forms brittle, hard threads that snap easily. If your brittle is sticky or chewy, it's likely that it didn't reach this crucial temperature range. Continue microwaving in short bursts (30-60 seconds) until it does.
The Humidity Factor: Keeping Brittle from Getting Sticky
Humidity is the archenemy of perfectly crisp brittle. On rainy or very humid days, sugar has a tendency to absorb moisture from the air, which can lead to brittle that's sticky, chewy, or simply doesn't set properly. This stickiness can manifest both during cooking and after the brittle has cooled.
Here’s how to combat humidity:
- Increase Temperature Slightly: On humid days, consider cooking your brittle a few degrees higher, aiming for the upper end of the hard crack stage (closer to 310°F/154°C). This extra heat helps evaporate more moisture from the sugar mixture.
- Store Properly: Once cooled, always store your microwave peanut brittle in an airtight container at room temperature. Avoid refrigeration, as the cold, moist environment can actually make it sticky faster.
Understanding these nuances will significantly improve your success rate, ensuring that even challenging weather conditions don't ruin your brittle dreams.
Beyond the Basics: Elevating Your Microwave Brittle
Once you’ve mastered the classic
microwave peanut brittle, a world of customization opens up. These pro tips will help you not only perfect your technique but also add your unique flair, making your brittle truly exceptional.
Flavor Variations and Nutty Alternatives
While peanuts are traditional, don't shy away from experimenting with other nuts. Pecan brittle, cashew brittle, or even a mixed nut brittle can be delightful. Just ensure they are roasted and unsalted. For an extra kick, consider adding a pinch of cayenne pepper for spicy peanut brittle, or a dash of cinnamon for a warming, autumnal twist. A drizzle of melted dark or white chocolate over the cooled brittle adds an elegant touch and another layer of flavor.
Gifting and Presentation: Spreading the Sweetness
Homemade brittle makes a fantastic gift. Once fully cooled and broken into pieces, store it in attractive tins, cellophane bags tied with ribbon, or decorative boxes. It’s a thoughtful, personal present that’s always appreciated, especially around the holidays. The fact that it comes together in under 10 minutes makes it your secret weapon for quick, impressive gifts! Discover more on how to make your quick holiday candy truly special in our article on
Gift-Worthy Microwave Peanut Brittle: Your Quick Holiday Secret.
Troubleshooting Common Brittle Blunders
Even with the best preparation, sometimes things go awry. Here’s a quick troubleshooting guide:
- Too Sticky/Chewy: This is almost always an indication that the mixture didn't reach the hard crack stage (300-310°F/149-154°C) or that humidity is high. Next time, use your thermometer religiously and consider increasing the final cooking temperature slightly on humid days.
- Too Hard/Burnt Taste: This means you've overcooked it, likely exceeding 310°F. Pay closer attention to your thermometer, especially in the final stages.
- Not Spreading Evenly: Work quickly! The mixture sets fast once removed from the microwave. Have your greased surface ready and spread with a heat-resistant spatula immediately.
Conclusion: Your Journey to Perfect Brittle Starts Now
The era of complicated, time-consuming candy making is over, at least when it comes to peanut brittle. By embracing the microwave method and applying these pro tips – from the indispensable role of a thermometer to understanding humidity's impact and practicing swift preparation – you are now equipped to create batches of perfectly crunchy
microwave peanut brittle with confidence and ease. This isn't just a recipe; it's a testament to how modern techniques can simplify beloved classics without sacrificing an ounce of flavor or texture. So, go ahead, gather your ingredients, fire up that microwave, and prepare to delight friends, family, and yourself with the easiest, most delicious homemade brittle you’ve ever tasted. The perfect crunch awaits!